Okay, so you're living in a tiny apartment, dorm room, or just a space where every inch counts. You need more storage, but you don't want to sacrifice precious floor space. Don't worry, my friend! A DIY wall-mounted shelf is the answer to your prayers. It's a fantastic way to add character to your space, showcase your favorite trinkets, and solve those pesky storage woes.
Let's Get Started!
First things first, we need to gather our supplies. Think of it like baking a delicious cake - you need the right ingredients to make it perfect.
You'll Need:
Wood: We're going for a simple, sleek look here, so think about a nice, clean piece of wood. Pine is a classic choice, but you can go with something like maple, oak, or even reclaimed wood for a unique vibe. The size will depend on how big you want your shelf to be - you're the artist!
Screws: These are crucial for attaching your shelf to the wall. Make sure you choose screws that are long enough to reach through the wood and securely into the wall studs.
Wood glue: This will help create a super strong bond between the wood pieces, ensuring your shelf can handle even the heaviest of books or decorative treasures.
Wall anchors: These are your safety net for those situations where your screws can't find a stud. You'll need a good quality set that can handle the weight of your shelf.
Measuring tape and pencil: You'll need these to carefully mark where to cut your wood and where to drill your holes.
Circular saw or hand saw: To get those precise cuts you need for a stunning shelf.
Sandpaper: Smooth out those rough edges and give your shelf a polished look.
Wood stain or paint: This is where you can really personalize your creation. Choose a color that compliments your decor or goes for a natural wood finish.
Safety glasses and work gloves: Protect your precious eyes and hands!
Building the Shelf:
1. Measure and Cut: First, you'll need to decide on the dimensions of your shelf. Consider the space you have available and how much you want to display. Remember, you can always create multiple smaller shelves if you need more storage.
2. Cutting: Now, the fun part - cut your wood according to your measurements. This is where your saw comes in handy. Make sure your cuts are clean and straight, and take your time for a perfect finish.
3. Sanding: Once your wood is cut, it's time to smooth out those rough edges. Start with a coarser sandpaper to remove any imperfections, and then use finer sandpaper to give your shelf a silky smooth finish.
4. Assembling (optional): If you want to create a more complex shelf design, you might want to add some sides or legs. Use wood glue and screws to securely connect these pieces.
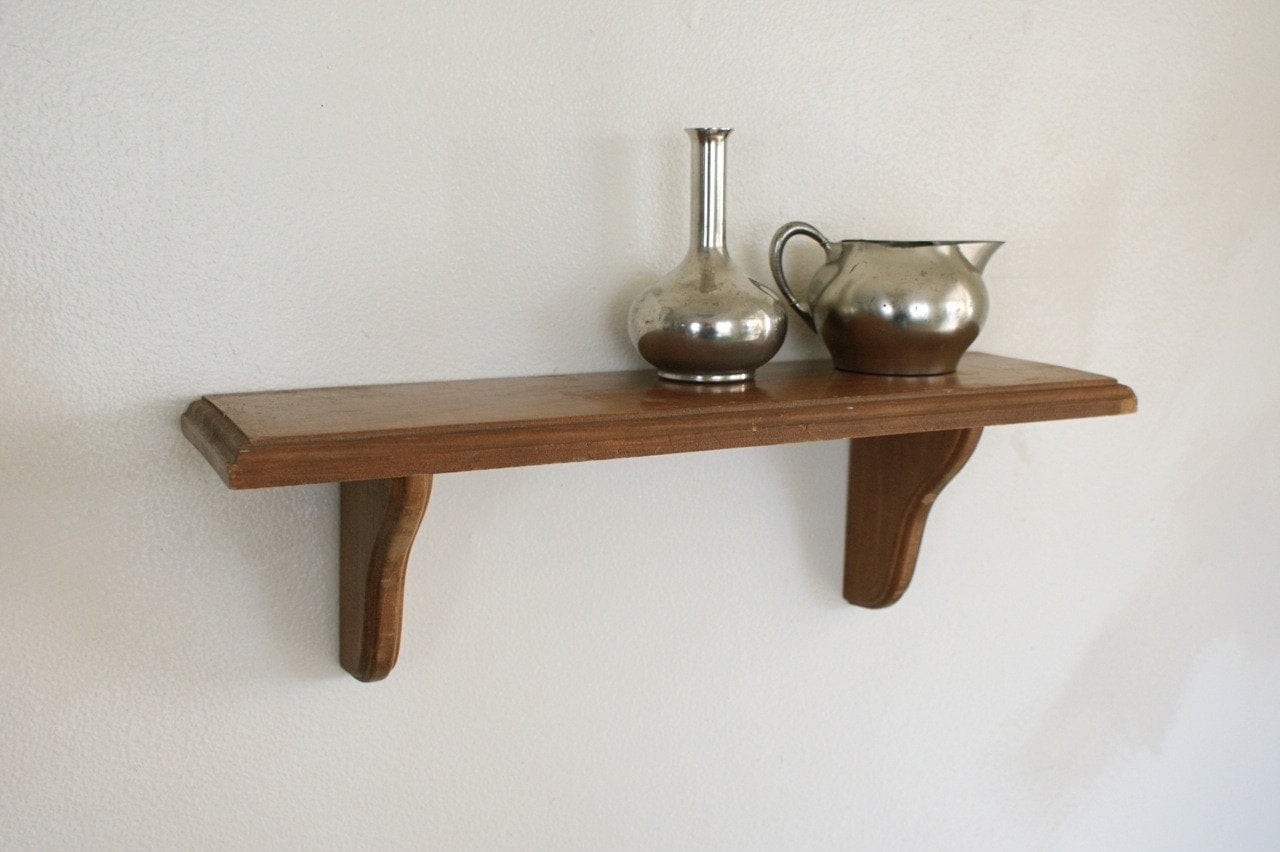
5. Adding Support Brackets (optional): For a sturdy shelf, consider using brackets for extra support. You can get these in different materials and styles to match your aesthetic.
6. Attaching the Shelf to the Wall: It's time to get your screws, wall anchors, and measuring tape ready. Mark the spots where you'll be attaching your shelf, ensuring they align with wall studs if possible. Use your wall anchors to secure your shelf in areas without studs.
7. Finishing Touch: Now it's time to bring your vision to life! Apply a wood stain, paint, or leave your shelf in its natural wood beauty. Let it dry completely before placing your prized possessions.
Personalizing Your Creation:
Mix and Match: Get creative with your wood choices! Use different types of wood to add visual interest or try incorporating reclaimed wood for a unique, eco-friendly touch.
Shelves Galore: Make multiple smaller shelves to create a dynamic wall display. Vary their lengths and heights to add visual interest.
Get Organized: Consider adding dividers or compartments to your shelves to keep everything neatly in place.
Add Some Personality: Embellish your shelf with decorative accents like decorative brackets, knobs, or unique hardware.
Tips for Success:
Measure twice, cut once: This is crucial for a perfect shelf. Double-check your measurements to avoid any cutting mistakes.
Choose the right screws: Make sure you use screws long enough to reach the studs or anchors.
Don't overload your shelf: Use common sense and consider the weight of your belongings.
Practice makes perfect: If you're new to DIY projects, start with a simple shelf design before tackling more complex ones.
Show Off Your Work!
Now that your amazing shelf is ready, it's time to proudly display your treasures! Fill it with your favorite books, photos, plants, or anything that makes you happy. Remember, your wall-mounted shelf isn't just about storage; it's a chance to create a space that reflects your unique style.
So, grab your tools, put on some music, and let's get building! You'll be amazed at what you can achieve with a little creativity and some DIY magic. And don't forget to share your finished project with the world! We all love seeing the amazing things people create. Good luck!

0 comments:
Post a Comment
Note: Only a member of this blog may post a comment.