Building a Durable and Protective Wooden Gun Box
A wooden gun box offers a classic and elegant way to store and protect your firearms. Building your own allows for customization and personalization while ensuring the highest level of quality and craftsmanship. This article will guide you through constructing a durable and protective wooden gun box, providing detailed instructions and tips for achieving a professional finish.
Choosing the Right Wood
The first step is selecting the right wood for your gun box. Consider the following factors:
Durability
Hardwoods like oak, maple, and walnut are known for their strength and resistance to scratches and dents. They are ideal for gun boxes that will be handled frequently.
Aesthetics
If you desire a specific look, choose wood with the desired grain pattern and color. Walnut, for example, offers a rich, dark tone, while maple exhibits a lighter, more vibrant grain.
Cost
Consider your budget and the availability of wood in your area. While hardwoods are durable, they can be more expensive than softwoods. You can also explore more affordable options like pine or cedar, ensuring proper finishing for longevity.
Designing the Gun Box
Before you start building, carefully plan the dimensions and features of your gun box. Consider the following:
Size and Shape
Measure the firearms you intend to store and ensure the box is large enough to accommodate them comfortably with proper padding and protection. Decide on the shape of the box, whether it's a traditional rectangular design or a more intricate form.
Internal Features
Consider adding internal compartments, dividers, or racks to organize and protect different types of firearms. Padding is essential to prevent scratches and impacts. You can use foam, felt, or even cut-to-fit fabric for padding.
Security Features
Incorporate security features like a lockable lid, hinges that can be secured, or even a metal latch for added protection. A lockable box will ensure your firearms are protected against unauthorized access.
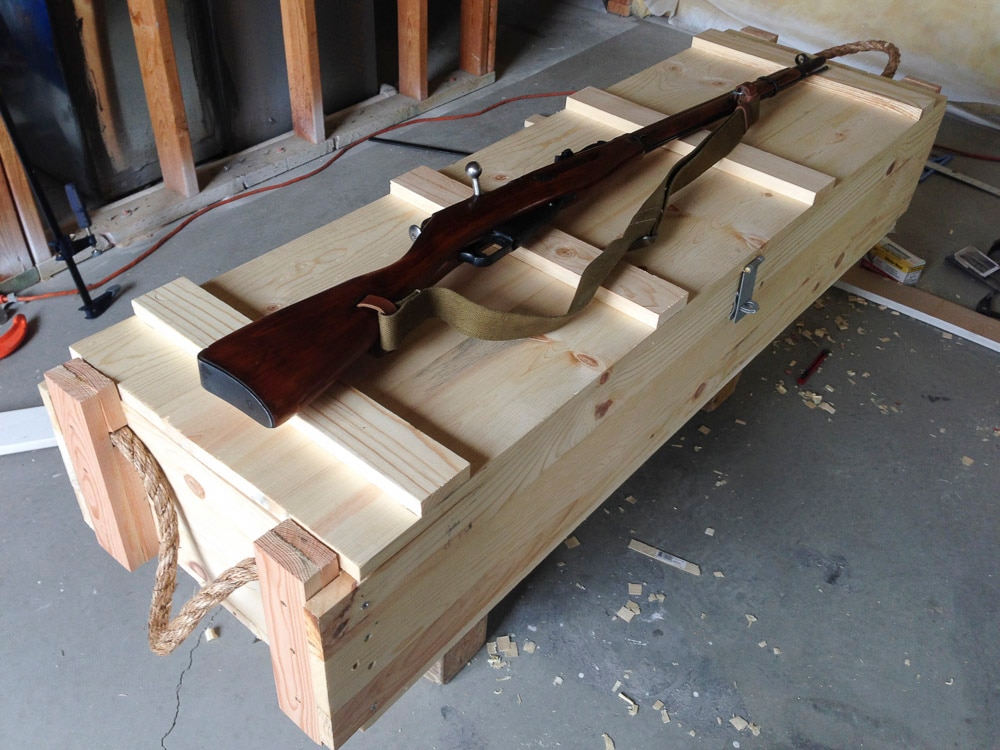
Building the Gun Box
Now, gather your materials and tools to begin building your wooden gun box. Follow these steps for optimal results:
Cutting the Wood
Carefully cut the wood according to your design, ensuring precise measurements for a tight-fitting box. Use a saw for straight cuts and a router or jigsaw for intricate shapes.
Assembling the Box
Join the wood pieces using strong woodworking glue and appropriate joinery techniques like dadoes, rabbets, or dovetails. Use clamps to secure the joints while the glue dries completely. For added strength, you can use screws or nails to reinforce the joints.
Adding Interior Features
Install any internal features like compartments, dividers, or racks, securing them with screws, glue, or dowels. Apply padding to the interior using glue, staples, or tape. Choose padding materials that are soft and durable to protect your firearms from damage.
Adding Security Features
Install the lockable lid, hinges, and any other security features as per your design. Ensure that the locks and hinges are high quality and securely attached to the box.
Finishing the Gun Box
Once the box is built, take time to create a beautiful and protective finish. Follow these steps:
Sanding
Sand the box thoroughly, starting with coarse sandpaper to remove any rough edges and progressing to finer grits for a smooth finish. Be sure to sand all surfaces, including the interior, to prevent splinters or rough edges.
Applying Stain or Paint
Choose a stain or paint that complements the wood and your desired aesthetic. Apply multiple thin coats, allowing each coat to dry completely before applying the next. For a durable finish, consider using a polyurethane sealant over the stain or paint.
Adding Finishing Touches
You can further personalize your gun box by adding embellishments like decorative hardware, engraved plates, or custom-made labels. These finishing touches can elevate the look and create a truly unique piece.
Safety Considerations
While building a wooden gun box is a rewarding project, it's important to prioritize safety throughout the process. Always wear appropriate safety gear like goggles, gloves, and a dust mask. Use caution when working with sharp tools and ensure the work area is clean and organized. Proper safety practices will ensure you complete your project without incident.

0 comments:
Post a Comment
Note: Only a member of this blog may post a comment.