Building a Grill Gazebo with a Screened-In Patio: A Step-by-Step Guide
Imagine yourself enjoying a delicious barbecue with friends and family, protected from the elements and pesky insects. This dream can become a reality with a well-designed grill gazebo that seamlessly integrates with a screened-in patio. This comprehensive guide provides a step-by-step walkthrough, enabling you to build this ultimate outdoor oasis.
Planning Your Dream Outdoor Space
Before you start swinging a hammer, carefully plan your project. Determine the size and layout of your gazebo and patio, taking into account existing structures and landscaping. Consider the following:
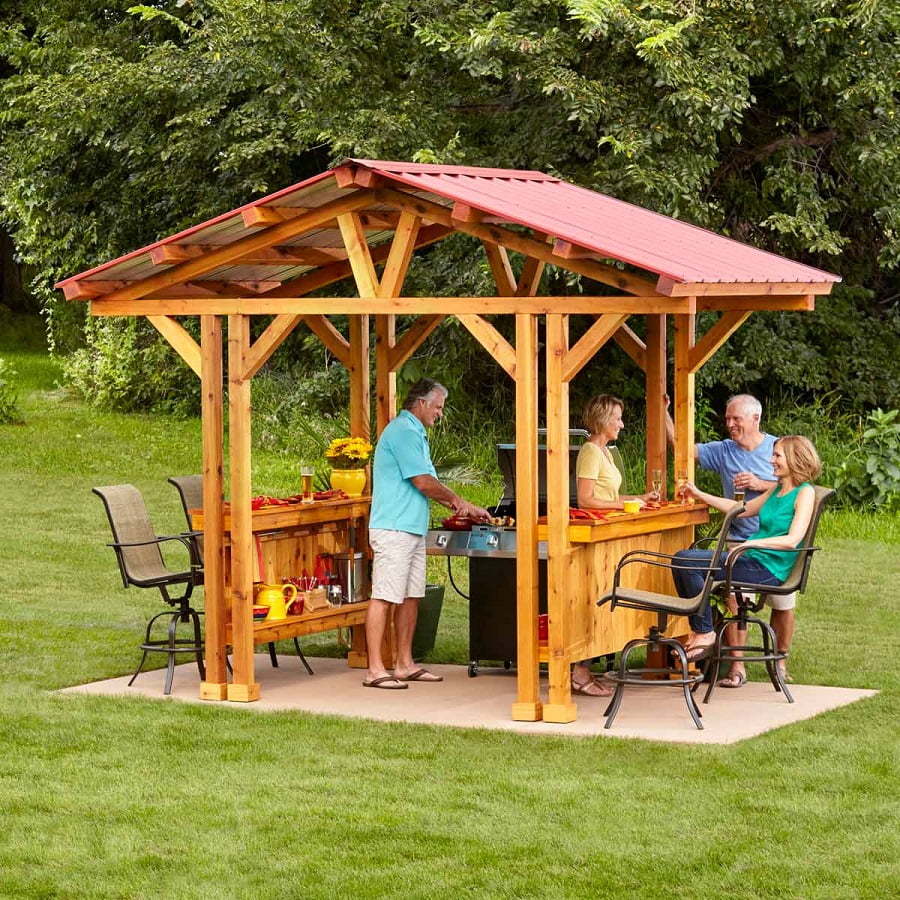
Size and Shape
The size of your gazebo should accommodate your grill, seating, and any additional features you envision. A square or rectangular shape is typically easiest to construct, but you can explore other designs like octagons or even curved structures for a more unique look.
Location and Orientation
Choose a location that maximizes shade and minimizes wind. Ideally, place your gazebo where you have access to electricity and plumbing for future additions like a mini-fridge or outdoor kitchen sink. Consider the sun's path and orient the patio for optimal sunlight exposure.
Materials and Budget
Decide on materials that align with your budget and desired aesthetic. Wood, metal, and vinyl are popular choices for framing, while canvas or vinyl are common for roofing and screening. Research different options and compare prices to find the best value for your needs.
Foundation and Framing: Laying the Groundwork
The foundation is the backbone of your structure. Choose a foundation type based on soil conditions and local building codes. Here are two common options:
Concrete Footings
Concrete footings provide a stable and long-lasting base. Excavate holes for the footings, pour concrete, and allow it to cure completely. Attach the framing to the footings using anchor bolts.
Pressure-Treated Wood Posts
For less demanding soil conditions, pressure-treated wood posts can suffice. Set the posts in concrete, ensuring they are level and plumb. Attach the framing to the posts using lag screws or other appropriate fasteners.
Once the foundation is set, erect the framing for your gazebo. Use strong, weather-resistant lumber, following your chosen design plans. Ensure the framing is square and secure. This will provide a solid foundation for your roof and screening.
Roofing: Sheltering Your Oasis
The roof is the defining element of your gazebo, protecting you from the elements. Choose a roofing material that suits your style and budget:
Canvas
Canvas is a classic choice for gazebos, providing a lightweight and breathable option. It comes in various colors and can be easily replaced when needed. Consider using a water-resistant sealant for added protection.
Vinyl
Vinyl is a durable and low-maintenance choice for roofing. It's resistant to water, mold, and mildew. Choose a vinyl color that complements your overall design.
Metal
Metal roofing offers exceptional durability and longevity. It's available in various styles and colors. Consider using a metal roof if you want a modern and sleek look.
Once you've chosen your roofing material, install it according to the manufacturer's instructions. Secure the roofing to the framing, ensuring it's watertight and properly ventilated. Consider adding a gutter system to collect rainwater.
Screening: Creating Your Insect-Free Haven
Screened-in patios offer the perfect balance between outdoor living and protection from pesky insects. Choose a screening material that is durable and allows for good airflow.
Fiberglass Screening
Fiberglass screening is a popular choice due to its affordability and durability. It's resistant to tearing and fading, offering good visibility and airflow.
Polyester Screening
Polyester screening is a more premium option, known for its strength and resistance to tearing. It often comes in a variety of colors, adding a stylish touch to your patio.
Install the screening using staples, tack strips, or specialized screening clips. Ensure the screening is tight and secure, preventing insects from finding their way in. Consider adding a door or gate to allow for easy access to the patio.
Finishing Touches: Making it Your Own
Now that the main structure is complete, it's time to add the finishing touches that make your grill gazebo truly special. Consider the following:
Lighting
Install lighting to illuminate your patio for evening gatherings. Choose from string lights, solar lights, or recessed lighting for a more sophisticated look. Consider adding a dimmer switch for adjustable brightness.
Decor
Add personal touches with outdoor furniture, plants, and decorative accents. Use comfortable seating, a coffee table, and a small rug to create a cozy atmosphere. Plant flowering vines or hanging baskets to add a touch of greenery.
Grill Integration
Ensure your grill is safely and conveniently located within the gazebo. Consider adding a side table for grilling tools, a storage area for propane tanks, and a drip pan to catch grease. Ensure the grill is properly vented to prevent smoke buildup.
Safety and Maintenance
Regular maintenance ensures your grill gazebo and screened-in patio remain in optimal condition. Inspect the structure for any signs of wear or damage, tighten loose screws or fasteners, and clean the roof and screens regularly.
By following these steps, you can build a stunning grill gazebo with a screened-in patio that transforms your outdoor space into an inviting haven for entertaining and relaxation. Remember, it's a project that requires careful planning, attention to detail, and a touch of creativity. Enjoy the process of creating your own custom oasis, where you can gather with loved ones and make unforgettable memories under the stars.

0 comments:
Post a Comment
Note: Only a member of this blog may post a comment.