DIY Christmas Countdown Calendar with Wood: Let's Build Some Festive Fun!
Alright, friends, Christmas is just around the corner and you know what that means? It's time to get crafty and build a **DIY Christmas countdown calendar**! This year, forget those flimsy cardboard calendars that fall apart after a week. We're going for something **durable, charming, and totally unique**. Think rustic wooden boxes, charming little drawers, or even a fun advent-style door opening system. Let's get those creative juices flowing!
Why Choose a Wooden Countdown Calendar?
There's just something so magical about wood, isn't there? It's warm, natural, and brings a touch of rustic charm to any holiday decor. Plus, a wooden calendar is much sturdier than its paper counterparts. You can use it year after year, filling it with new treats and surprises for your loved ones.
Ideas to Get You Started
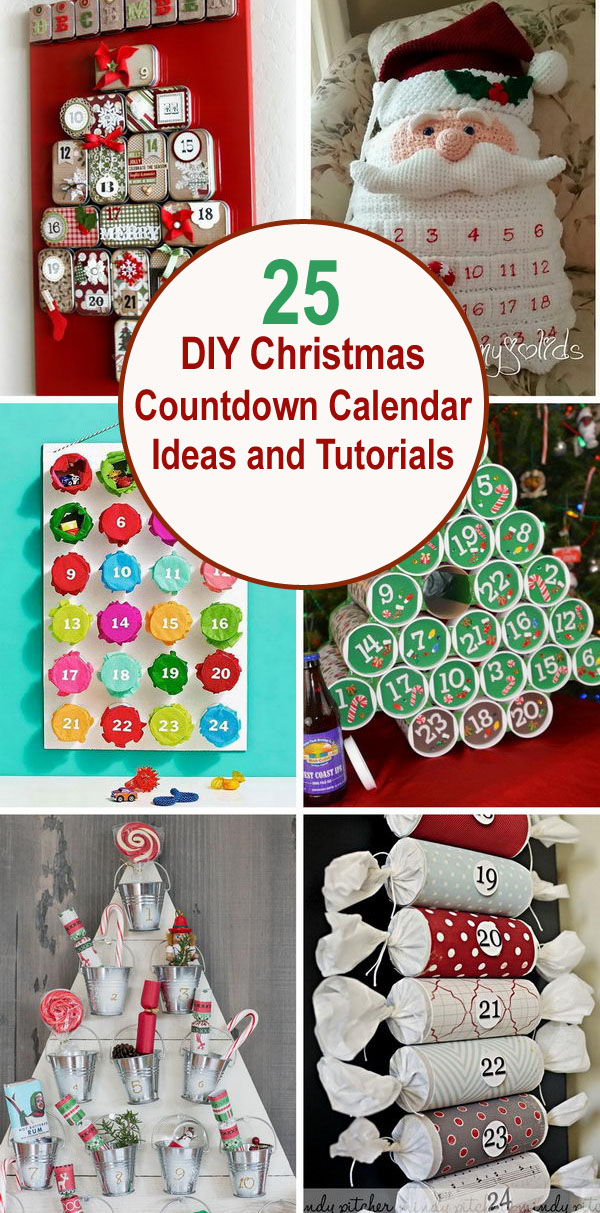
Here's where the fun truly begins! The possibilities are endless, so let your imagination run wild. Here are some ideas to spark your creativity:
1. Classic Wooden Boxes
Think of a simple wooden crate or a set of small boxes, each numbered from 1 to 24. You can paint them, stain them, decorate them with festive motifs - the possibilities are truly endless! Fill each box with a tiny gift, a treat, or even a cute holiday-themed note.
2. Adorable Little Drawers
Imagine a sweet little wooden cabinet with 24 tiny drawers. Each drawer can hold a small surprise, and you can decorate the cabinet with Christmas lights, festive ribbons, or even a cute miniature Christmas village scene.
3. Advent-Style Doors
This one is perfect for a dramatic reveal! Use a wooden board, a piece of plywood, or even an old window frame to create a series of 24 doors. Each door can hide a small gift or a clue to a bigger surprise. You can use hinges to create traditional doors, or get creative with magnetic closures or even puzzle pieces that unlock the secret compartments.
4. Wooden Wall Calendar
Want something truly unique? Create a wooden wall calendar with 24 separate squares or circles. Each day, you can reveal a special treat or a fun activity to do as a family.
Essential Tools and Materials
No need to worry, you don't need to be a seasoned carpenter to create this magical countdown calendar. You can use a variety of tools depending on your project, but here are some basic essentials:
- Wood: Choose a wood that is easy to work with, like pine or plywood. You can find pre-cut boards at most home improvement stores.
- Saw: You'll need a saw to cut the wood to your desired size. A jigsaw is great for intricate shapes, while a handsaw is more suitable for straight cuts.
- Screwdriver or Drill: You'll need these to assemble your calendar and attach any decorative elements.
- Sandpaper: Sanding the wood will create a smooth finish and prevent splinters.
- Paint or Stain: This is where you can unleash your creativity and personalize your calendar. Choose colors that match your holiday decor.
- Brushes or Spray Paint: Apply your paint or stain with these tools. A brush allows for more control and texture, while spray paint offers a smoother and faster application.
- Decorative Elements: Let your imagination run wild! Think ribbons, glitter, snowflakes, or even small Christmas ornaments to personalize your creation.
- Glue: To attach those decorative elements and give your project that extra touch of festive sparkle.
- Numbers: You can purchase pre-made wooden numbers or use stencils to create your own. Get creative with fonts and sizes!
- Small Boxes, Drawers, or Containers: If you're creating a box-style or drawer-style calendar, you'll need these to hold your treats and surprises.
- Hinges, Magnetic Closures, or Puzzle Pieces: To create those magical opening doors or compartments, you'll need these functional elements.
Building Your Wooden Christmas Countdown Calendar: Step-by-Step
Now that you have your tools and materials ready, let's dive into the fun part - building your own wooden Christmas countdown calendar. Remember, this is just a general guide. You can adjust it based on your specific design and materials.
1. Sketch Your Design
Before you start cutting wood, grab a pencil and paper and sketch out your dream calendar. Decide on the size, shape, and overall design.
2. Cut the Wood
Carefully cut the wood to the dimensions you've sketched out. Use a saw that's appropriate for the type of wood and the cuts you need to make.
3. Sand the Edges
Smooth out those rough edges with sandpaper. You want a comfortable and safe surface for your project.
4. Paint or Stain the Wood
Let your creativity shine! Paint the wood in your desired color or stain it for a natural wood finish. You can even create different patterns or embellishments.
5. Assemble Your Calendar
Follow your design and assemble the various pieces using glue, screws, or nails. Make sure everything is secure and sturdy before moving on to the next steps.
6. Attach the Boxes, Drawers, or Doors
If you're using boxes, drawers, or doors, attach them securely to the main calendar structure. You can use hinges, magnetic closures, or puzzle pieces to create the opening mechanisms.
7. Add the Numbers
Use glue or screws to attach the numbers to each box, drawer, or door.
8. Decorate Your Calendar
Now it's time to add those festive touches! Use ribbons, glitter, snowflakes, ornaments, or any other embellishments that inspire you.
9. Fill Your Calendar with Treats and Surprises
The moment you've been waiting for! Fill each box, drawer, or door with small gifts, treats, or notes. Remember to keep the age of your recipients in mind when choosing the surprises.
Tips for Success
Here are some additional tips to ensure your DIY Christmas countdown calendar is a hit:
- Start Early: Crafting takes time! Start your project a few weeks in advance to avoid rushing.
- Safety First: Always use safety goggles and wear appropriate clothing when working with tools.
- Embrace Imperfection: Don't worry about getting everything perfect. A handmade calendar filled with love is what matters most.
- Add a Personal Touch: Include photos, personalized notes, or small tokens that will make your calendar truly special.
- Have Fun: This is a creative project, so relax and enjoy the process!
There you have it! A DIY Christmas countdown calendar that's sure to bring joy and excitement to your holiday celebrations. From classic wooden boxes to whimsical advent doors, the possibilities are endless. So get crafty, unleash your inner artist, and create a calendar that captures the magic of the season!

0 comments:
Post a Comment
Note: Only a member of this blog may post a comment.